Period Property Renovation Roadmap: From First Survey To Final Snag
Renovating a listed or period home is different from a standard refurbishment. The fabric behaves differently, the permissions are stricter, and the sequence of works matters considerably.
A clear roadmap keeps the project calm, compliant, and kind to the building. This guide walks you through each stage, from the first survey to the last snag, with practical advice on breathable materials, planning milestones, client communication, and quality assurance.
If you would like a personalised plan for your home, you can book a free consultation with our heritage team at Point Builders Ltd.
Stage One: Discovery And First Survey
Start with a whole-house survey shaped around heritage needs, not just a quick look. You are aiming to understand condition, significance, and risks before you set a budget or timeline.
This means a visual inspection of roofs, masonry, joinery, floors, and services, moisture mapping and ventilation review to diagnose damp rather than just its symptoms, and a materials audit to note lime, timber species, historic plasters, and prior cement repairs.
Structural red flags are also documented to inform temporary works and sequencing, with everything recorded through photographs and simple room-by-room notes.
Early clarity avoids scope creep later in the project.
Stage Two: Heritage Significance And Brief
List the elements that define your home's character. Typical high-significance items include original sash windows, oak beams, lath and plaster ceilings, historic brickwork, and stone or flint details.
Your design brief should sit alongside this list so that comfort upgrades do not compromise what makes the building special.
Agreeing project priorities in order, weather-tightness, structural stability, breathability, services upgrades, then finishes, protects the fabric while still improving liveability along the way.
Stage Three: Planning, Consent, And Compliance
For listed buildings and homes in Conservation Areas, assume you will need approvals. Build time into your programme for pre-application advice with the local authority, Listed Building Consent and any planning permission, Building Regulations compliance strategies that respect the fabric, and Party Wall notices where required. A conservation-led builder can coordinate drawings, heritage statements, and method statements that reassure officers you will use appropriate techniques.
Many loft schemes in non-listed homes may fall under Permitted Development, but mansards, hip-to-gable changes, or works affecting the roof profile often need consent.
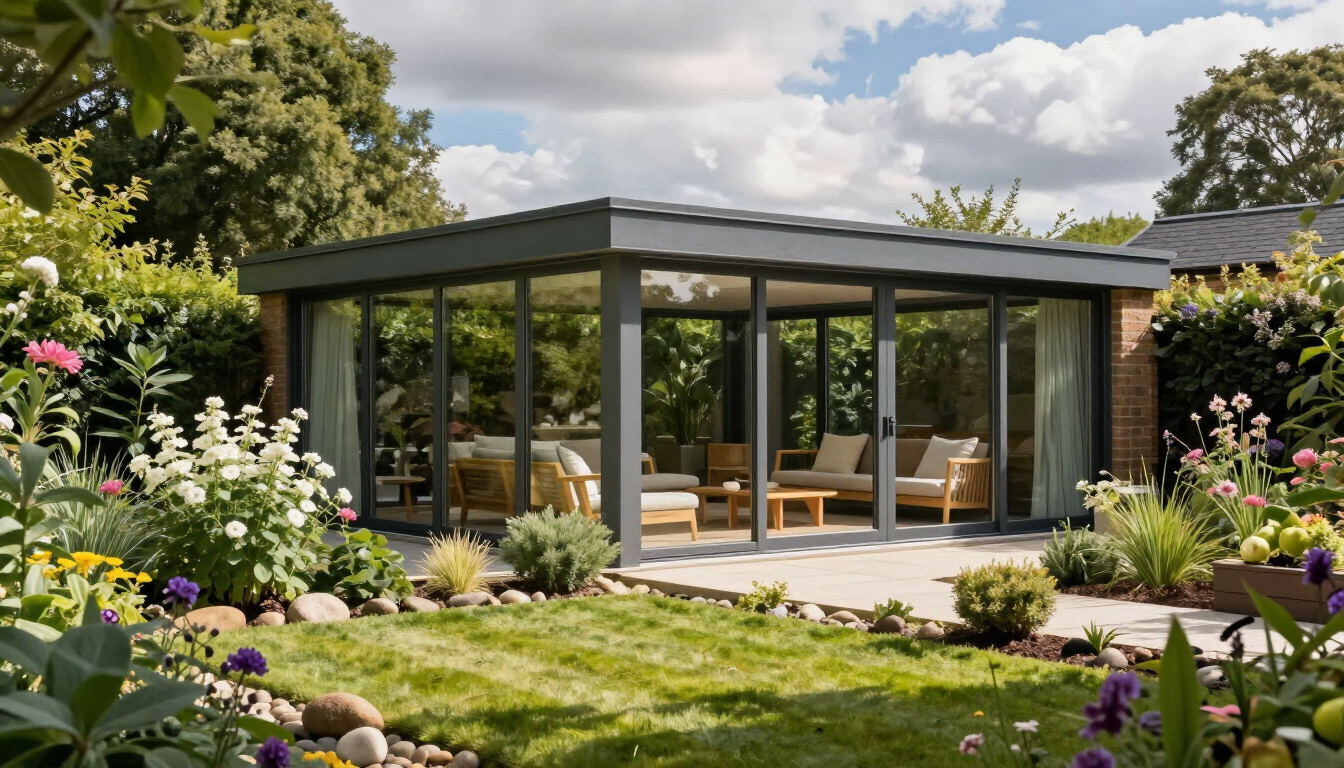
If you are considering additional space, see our guidance on loft conversions in Hertfordshire for typical routes and constraints.
Stage Four: Materials Strategy And Breathability
Older walls need to manage moisture through evaporation, so choosing a breathable, compatible system matters enormously.
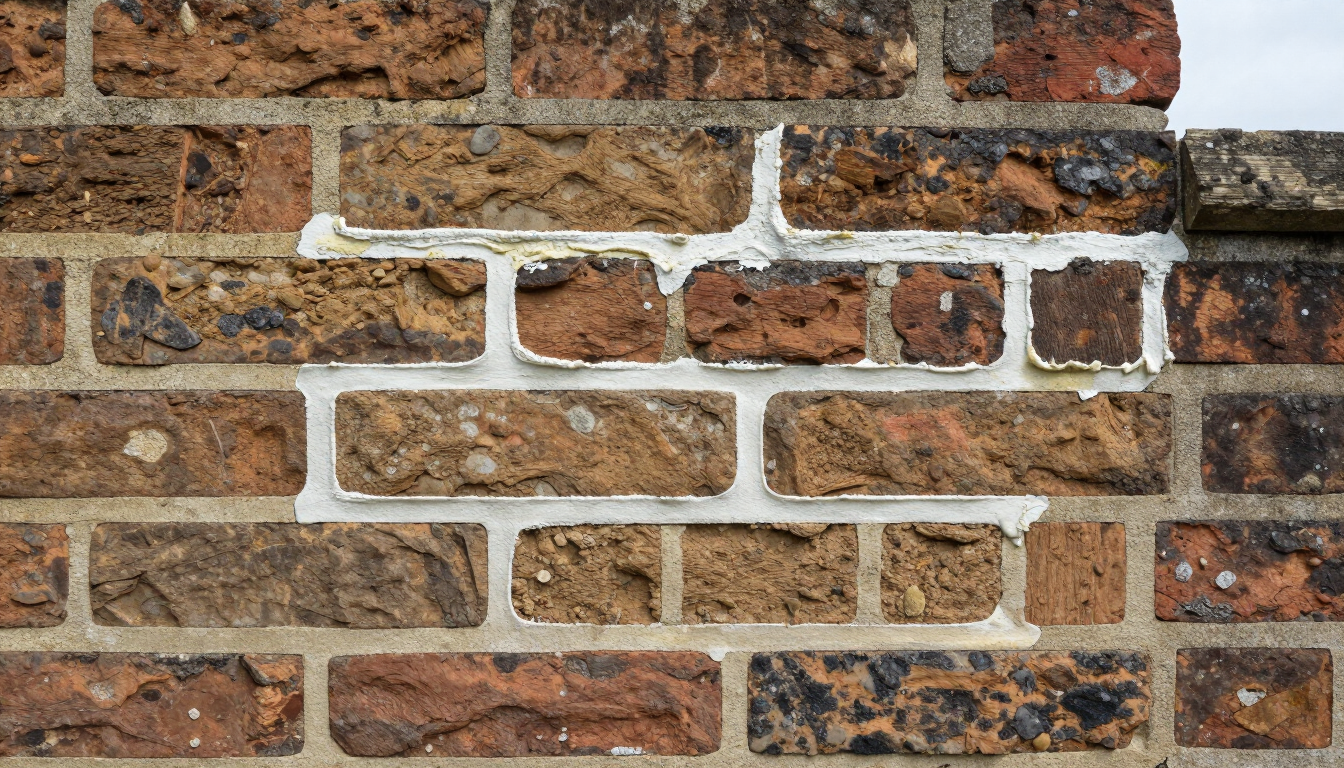
For mortars and plasters, lime-based mixes work far better than cement, using compatible sands and considering hot-mixed or NHL, natural hydraulic lime, based on exposure and substrate.
Our team carries out lime mortar testing and specification to match performance and appearance. For insulation, prioritise vapour-open options such as wood fibre, cork, or hemp-lime, combined with intelligent membranes and controlled ventilation, and for finishes, use limewash, clay, mineral, or silicate paints, avoiding vinyls and impermeable sealers entirely.
Timber should be repaired rather than replaced where possible, using traditional scarfing and resin consolidation only where genuinely justified. A good rule of thumb: if a layer blocks vapour, reconsider it, since breathability reduces trapped damp, salts, decay, and freeze-thaw damage.
Stage Five: Programme And Sequencing
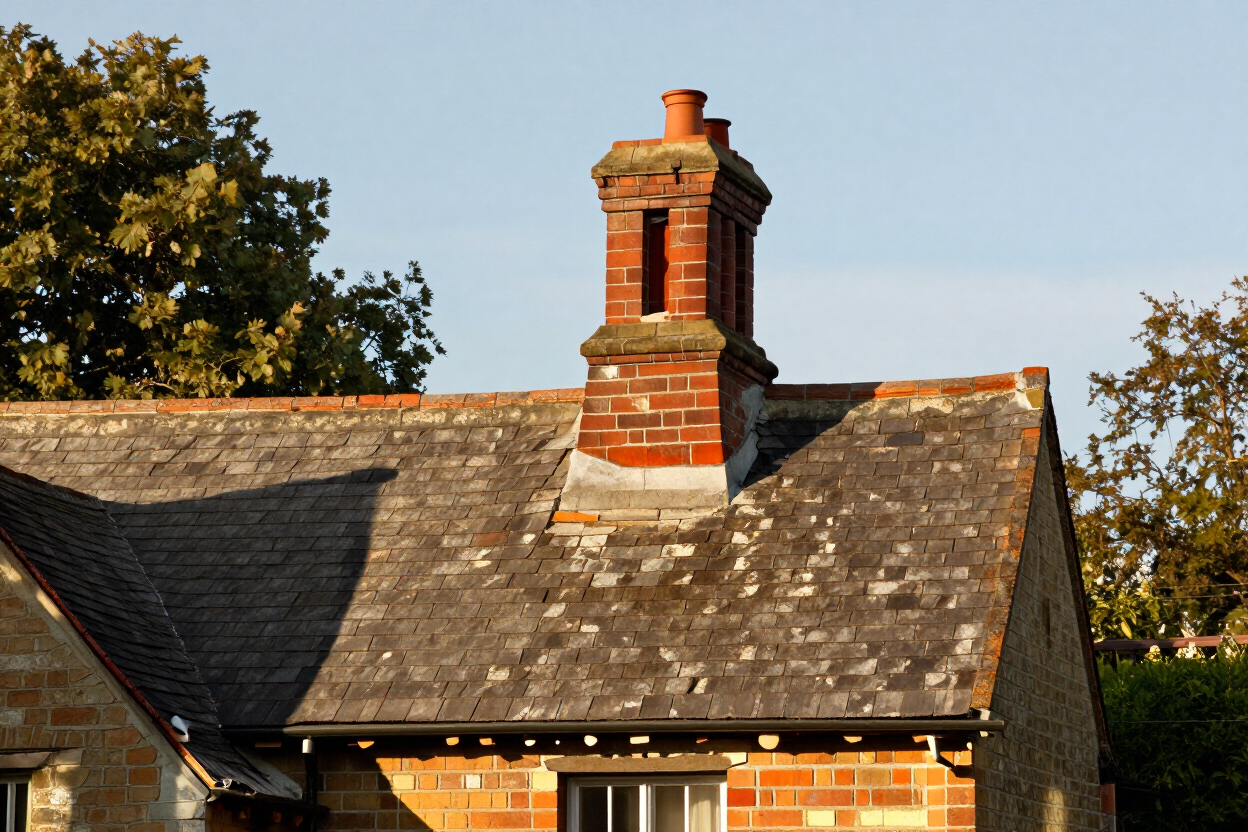
Sequence prevents rework. The right order starts with making safe and stabilising, scaffolds, temporary roofs, propping, followed by weathering and structure first, roof repairs, chimneys, gutters, leadwork.
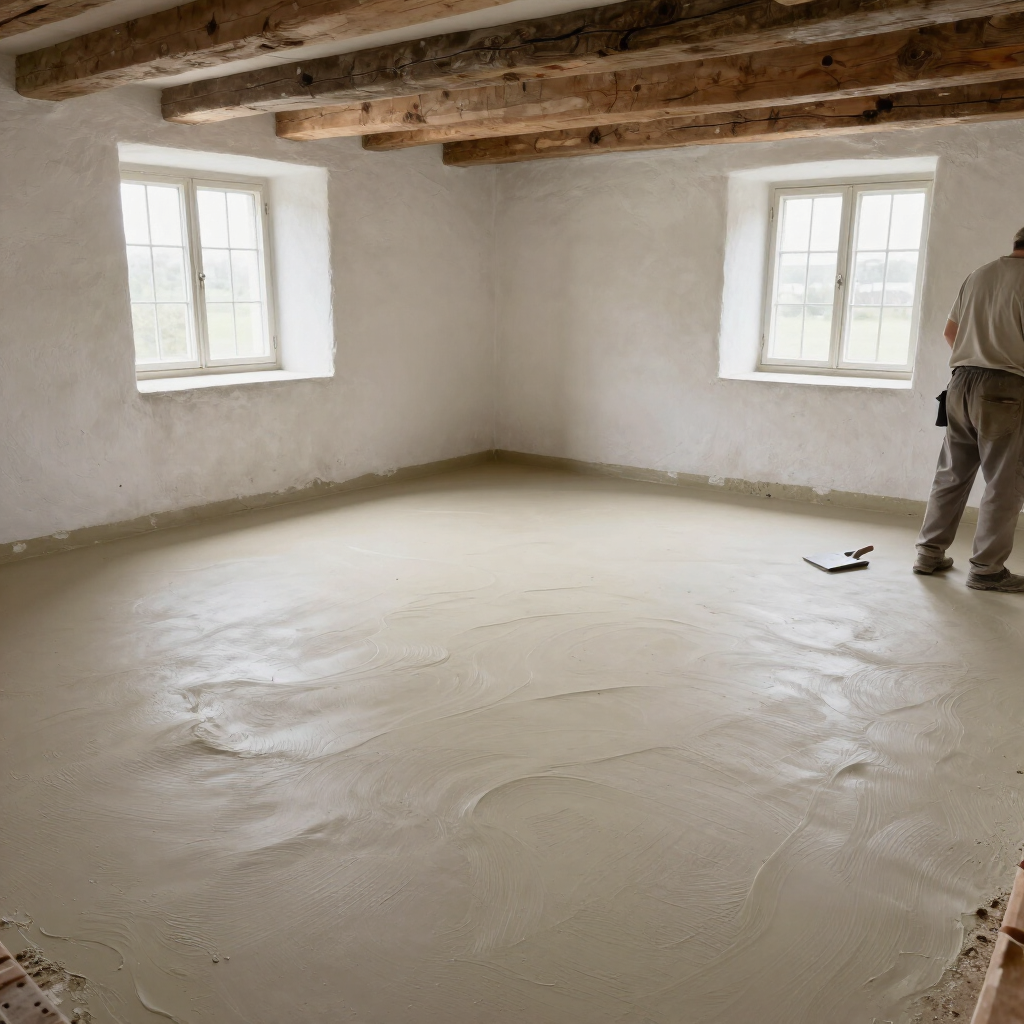
Masonry and fabric repairs come next, lime re-pointing, brick and flint work, timber consolidation, then first fix services planned carefully around historic fabric. Insulation and airtightness upgrades that remain vapour-open follow, then internal plasters and external renders in lime, with adequate curing time built in.
Joinery, floors, second fix services, and decoration with breathable finishes come next, finishing with commissioning, testing, and staged snagging. Allow for curing periods with lime and seasonal weather windows, since substantial roof works are typically smoother in spring and early summer.
Stage Six: Modern Comfort Without Harming Heritage
Balance starts with hierarchy. Improve thermal comfort and usability with the least intrusive options first, insulating at roof, floor voids, and internal walls with vapour-open systems, and using secondary glazing or slimline heritage glazing where appropriate.
Upgrading heating and controls for efficiency, rather than relying on heavy internal tanking or impermeable renders, protects the fabric while improving comfort, and addressing draughts with targeted joinery repairs and brush seals, rather than foam and sealants that trap moisture, keeps the building breathing properly.
Adding bathrooms and kitchens in areas of lower significance protects key rooms and ceilings, and planning new services routes to avoid cutting historic joists or cornices matters just as much, using reversible methods and documenting any unavoidable penetrations.
Stage Seven: Client Communication And Dementia-Friendly Practice
Clear, calm communication keeps disruption low.
At Point Builders we provide weekly updates with photos, plain-language summaries, and next steps, use labelled, contained work zones with dust control and floor protection, and offer predictable start and finish times with a single point of contact.
We also follow Alzheimer's Society guidelines for dementia-friendly communication, such as clear signage, contrast tape on thresholds, reduced clutter, and quiet briefings before changes of activity.
Telling your team about any accessibility needs or routines helps a site run better and feel safer for everyone involved.
Stage Eight: Quality Assurance, Handover, And Guarantees
Quality starts at pre-construction and ends after handover. This means samples and on-site mock-ups for mortars, plasters, and finishes, inspection and test plans covering substrate prep, mix ratios, curing, and moisture targets, and staged snagging followed by a final snag list with target dates.
Maintenance guidance for lime-based finishes and timber, along with insurance-backed guarantees, round out the handover process.
Keeping a project file with approvals, product data sheets, warranties, and photographs before, during, and after works gives you a complete record for years to come.
Avoiding Expensive Mistakes
The costliest problems usually stem from rushing or using incompatible materials. Common pitfalls include cement mortars and gypsum plasters on breathable walls, which trap moisture and cause decay, and skimming over failed lath and plaster without stabilising the base first.
Insulation that blocks vapour or hides active leaks causes similar problems, as does starting decorative work before the building is genuinely weather-tight. Underestimating permissions and redesign fees, then reworking to satisfy conservation requirements, and omitting contingency for hidden defects round out the most common and costly mistakes we see.
Slowing down at the start, testing assumptions, and getting specialist input where needed pays for itself many times over.
Helpful Services And Next Steps
If you are planning a roof-first programme or have moisture-related ceiling issues, our local team can help with roof repairs in St Albans. For lime work, see our guidance on lime mortar testing and specification, and if you are considering extra space under heritage constraints, our loft conversions in Hertfordshire page explains scope, timing, and consent pathways.
Ready to plan your project? Book a free consultation and we will map a tailored sequence, materials strategy, and consent plan for your home.
FAQ
What are the stages of a period property renovation?
Survey and diagnosis, significance assessment and brief, planning and consents, materials strategy, programme sequencing, comfort upgrades, client communication, and quality assurance and handover with guarantees at the end.
How do I balance modern comfort with heritage fabric?
Prioritise vapour-open insulation, targeted draught-proofing, efficient services, and reversible interventions, placing new kitchens or bathrooms in lower-significance areas while preserving key features elsewhere in the property.
Which materials should I choose for breathability and longevity?
Lime mortars and plasters, wood fibre or cork insulation, breathable membranes, and mineral or lime-based paints, repairing existing timber with traditional methods rather than replacing it wholesale.
How do I avoid the most expensive mistakes?
Do a thorough survey, secure consents early, test materials, protect breathability, and follow a fabric-first sequence, avoiding cement, impermeable finishes, and rushed decoration before curing and weathering are complete.